
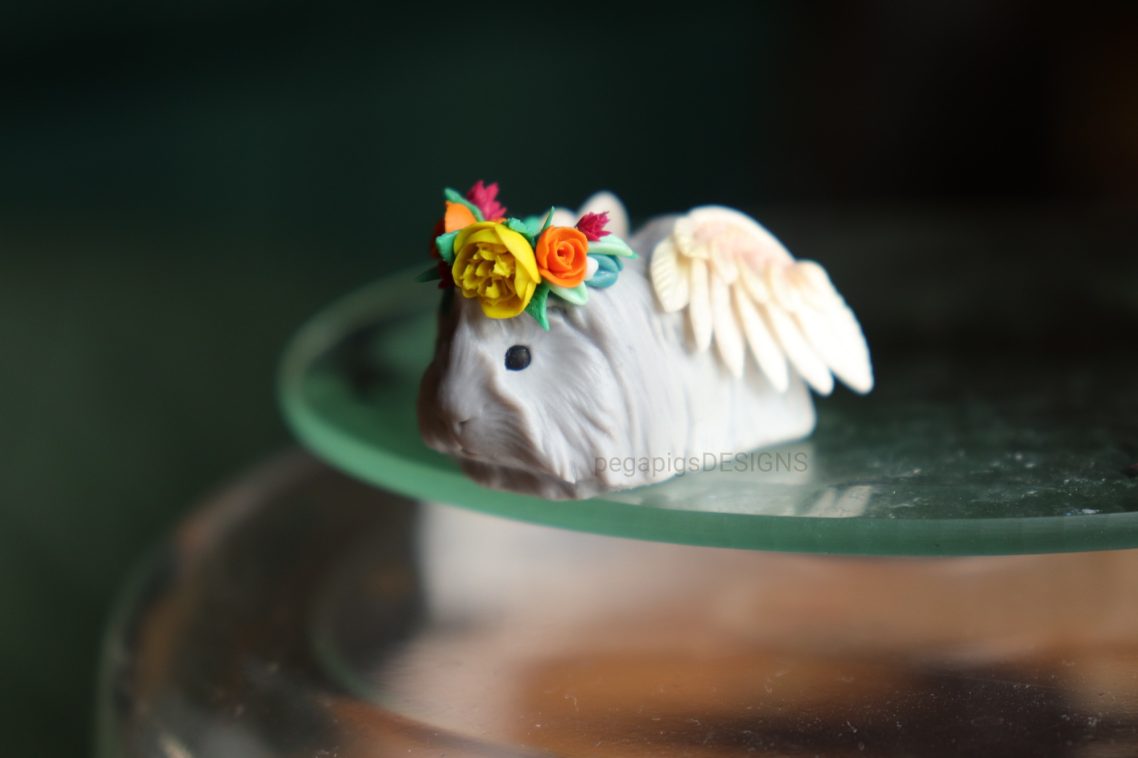
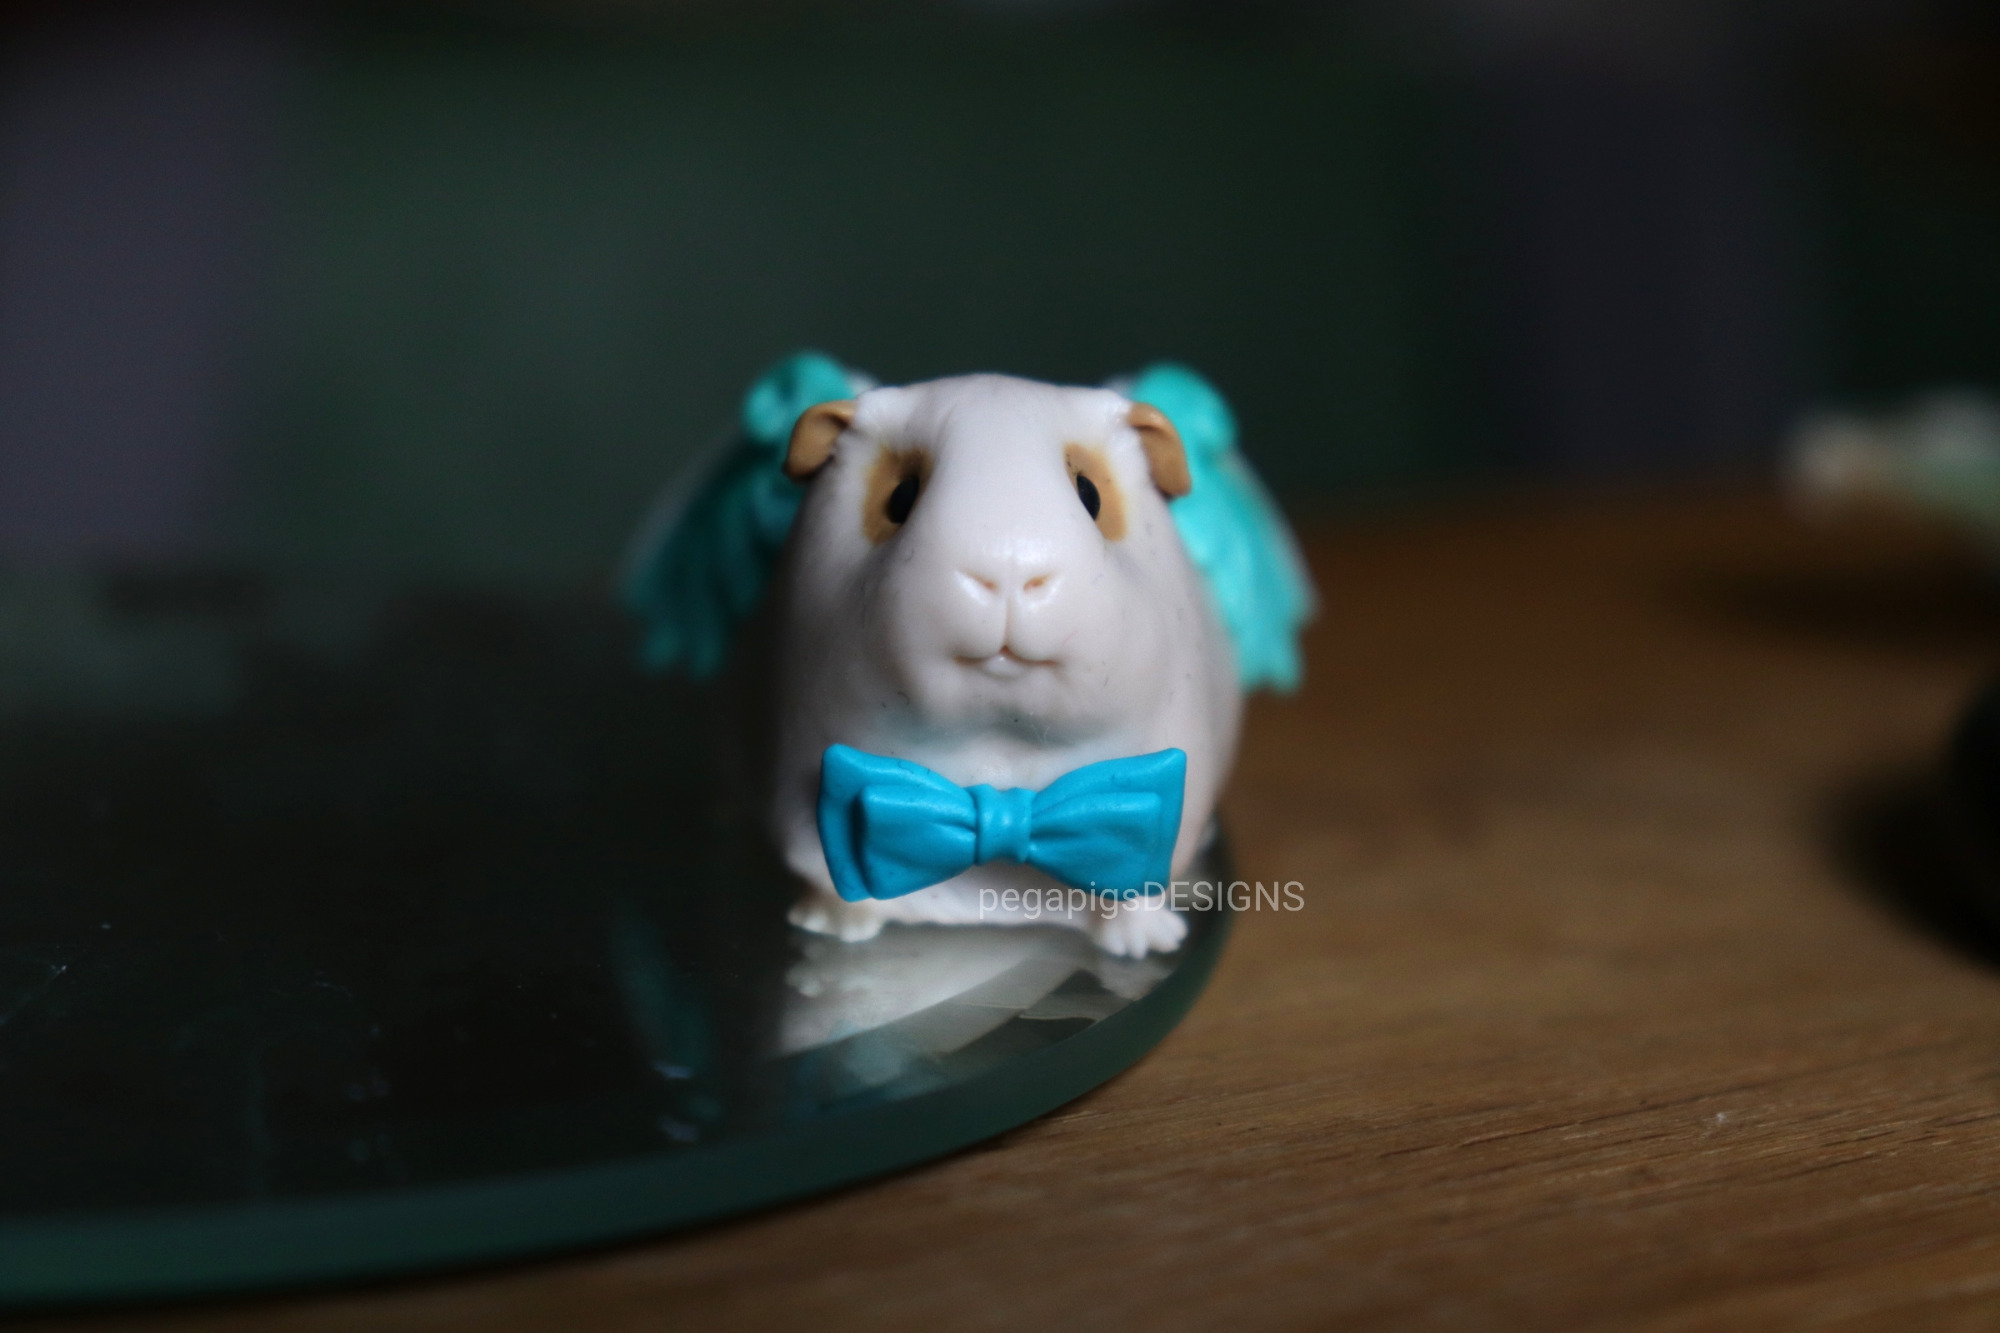
My work process
Each of my figurines is created with the utmost care. I will take you behind the scenes and show you my most important tools and give you an insight into my working process.
When I started working with polymer clay, I had no idea which tools I would find useful. I did some research on the internet and just bought some silicone tools that were significantly larger than my current ones.
Over time, I figured out what I needed for my purposes and working methods and thus found my basic tools.
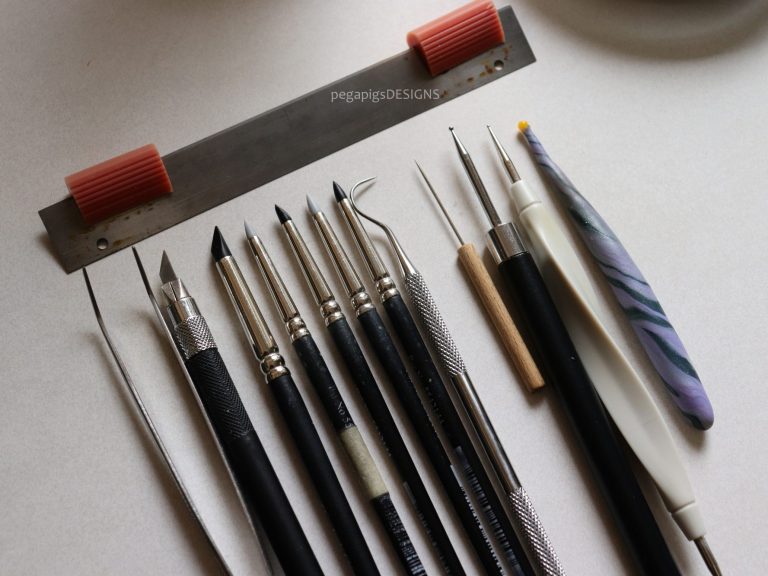
I need the silicone tools to sculpt shapes and details. They are very important for the fur texture.
A long blade is important for cutting polymer clay and for removing it from the work surface.
I made the ball tool on the right myself by shaping a handle out of polymer clay and by sticking a pin into it.
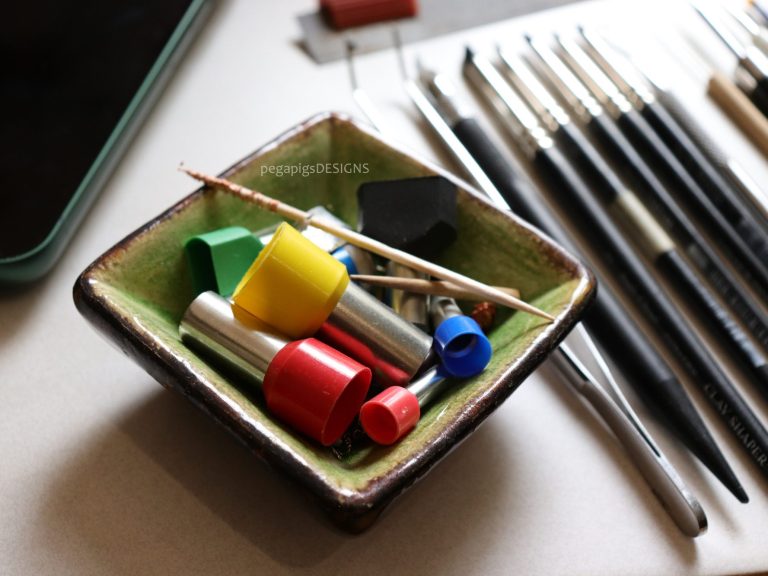
I also constantly need various round cutters.
To ensure that the eyes are always the same size, I cut them out with the cutters and roll them into balls by hand (a very tedious task and not something I enjoy doing :D).
I also use them for flowers and then shape them with my tools to achieve the right shape.
My sculpting process
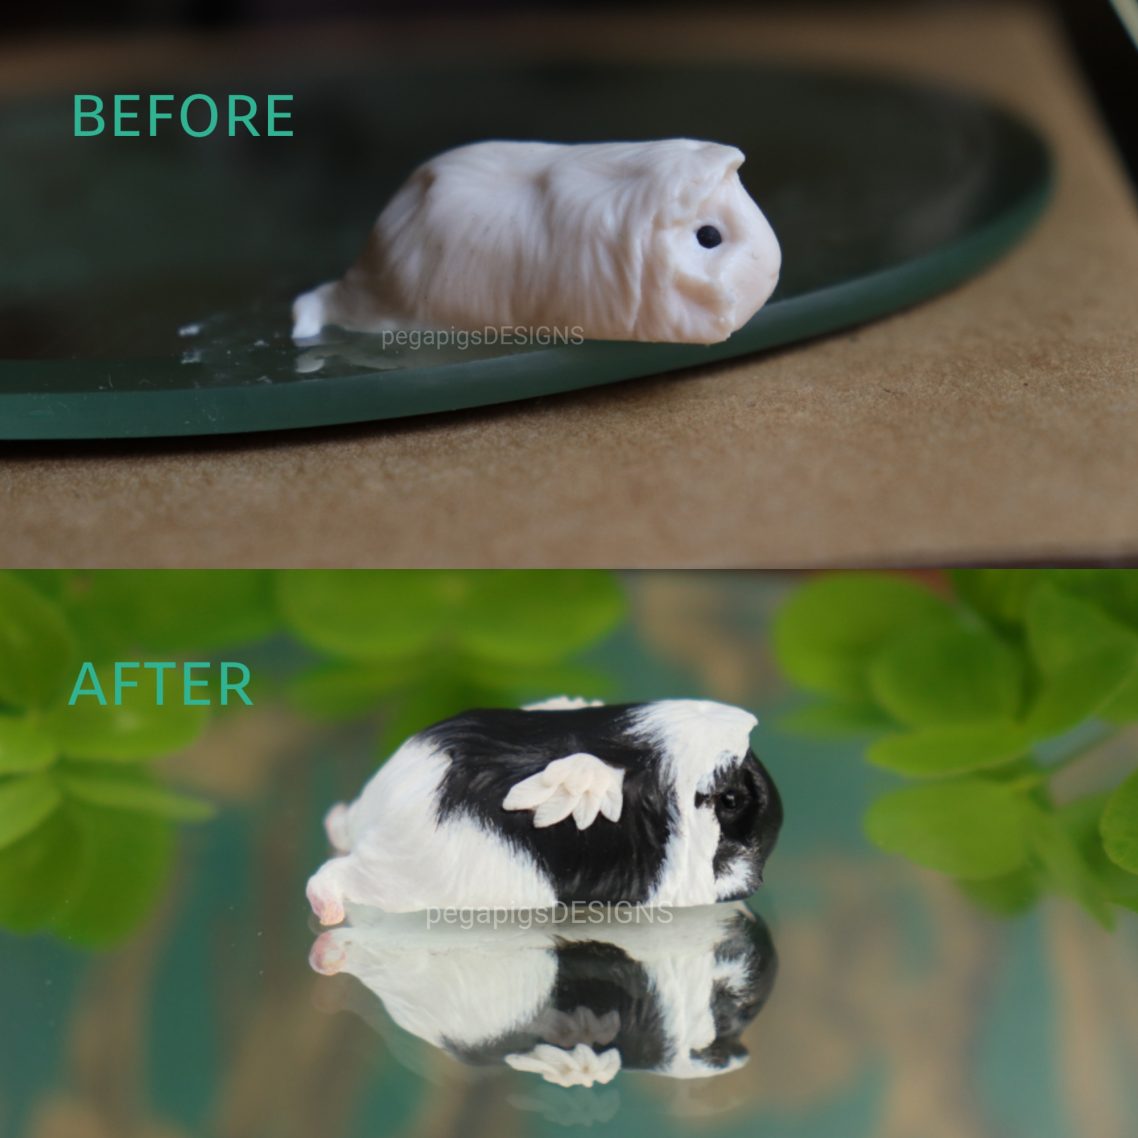
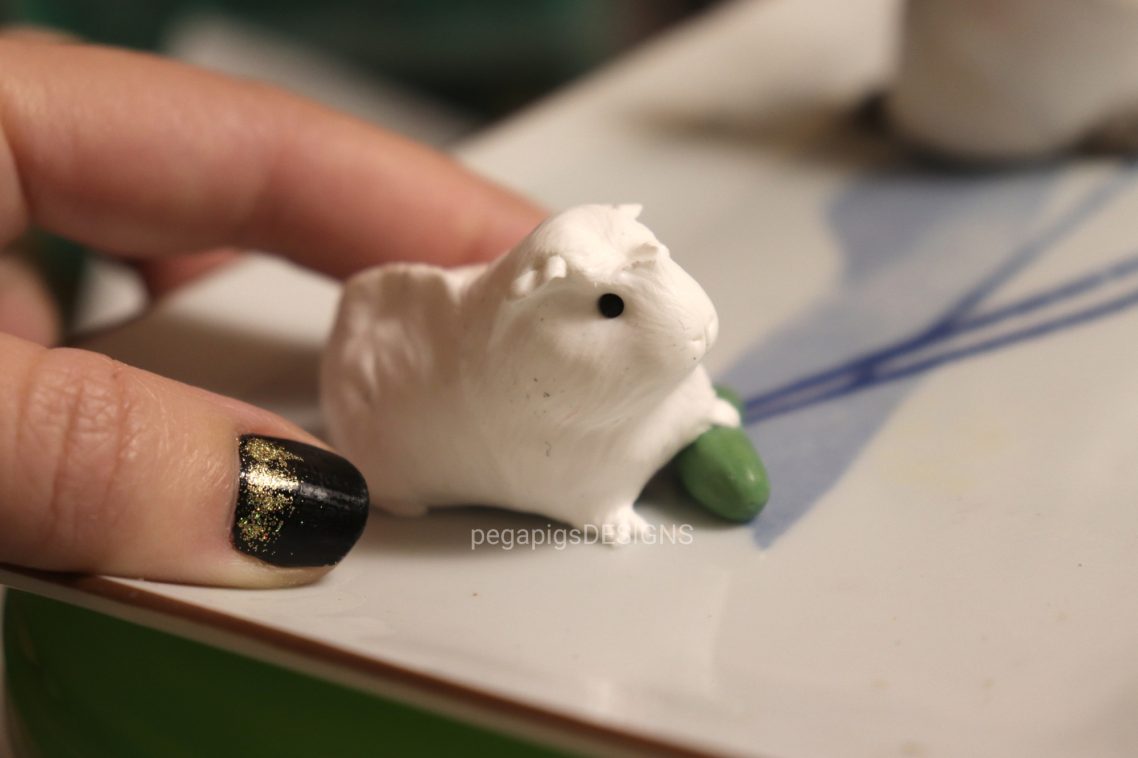
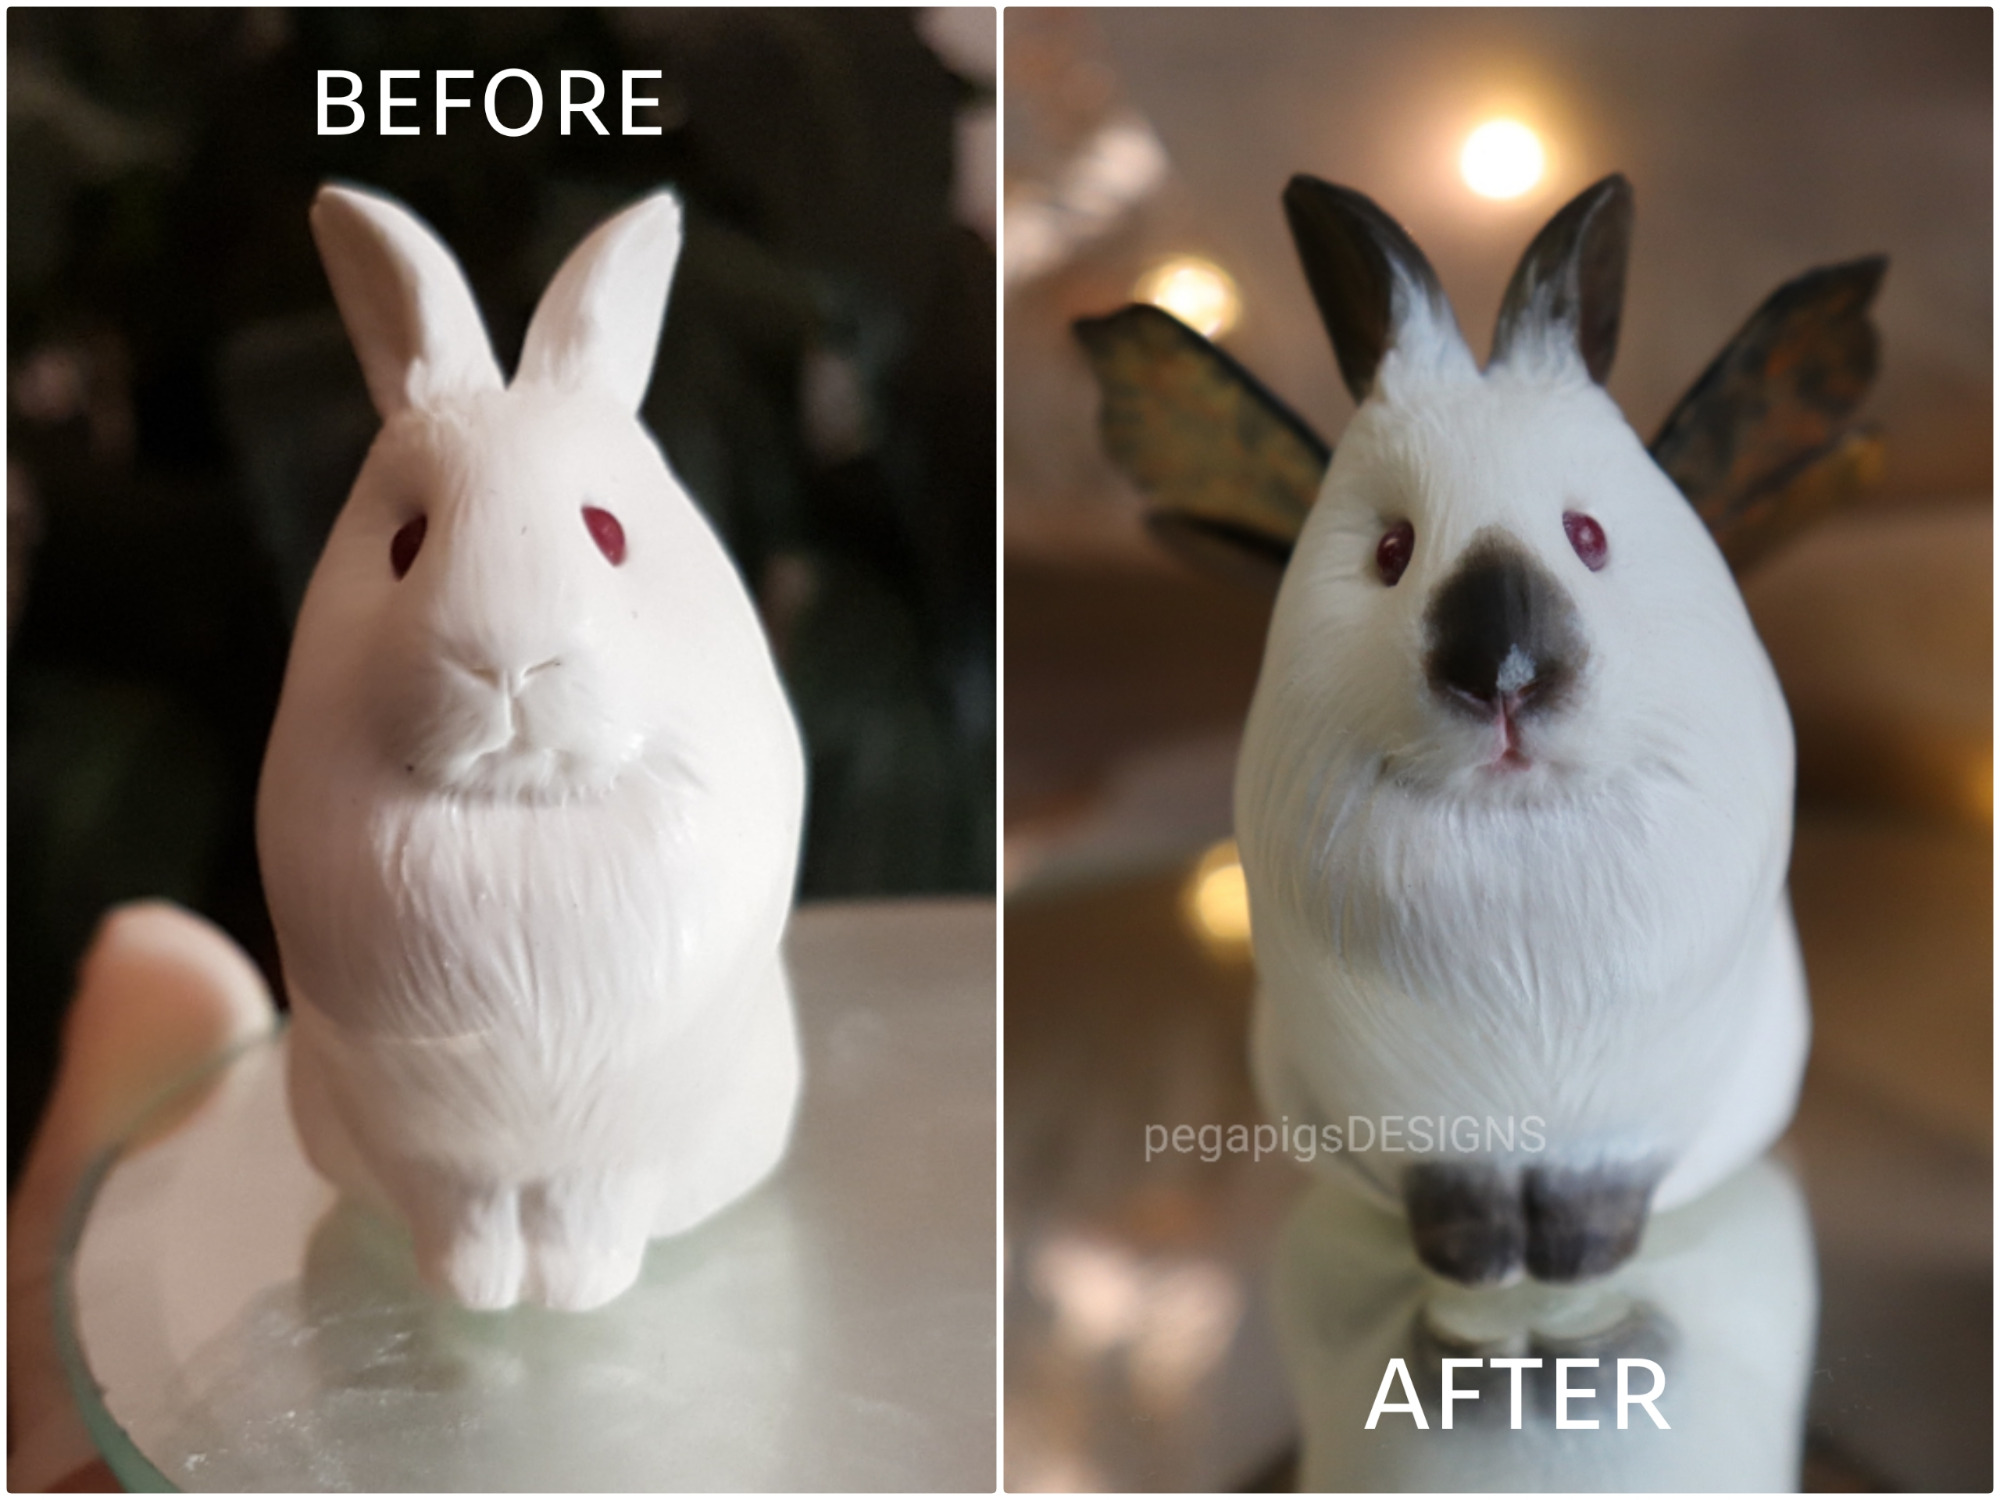
When making replicas, I sculpt the animals based on the photos I receive. Some figurines are sculpted directly with coloured polymer clay and only receive pastel chalk for colour details. Replicas are usually painted with acrylic paint. For ‘Basic’ figurines, the colouring is often done with pastel chalk alone.
When I have finished sculpting, the figurine is baked to harden it. Depending on the figurine, I then paint it with acrylic paint. Finally, everything is sealed with a matt and a gloss varnish.
The whole process from start to finish takes at least 30 minutes and can take up to 20 hours or longer. I work very precisely, as I am a perfectionist :D.


This is how it can look quite often after I've painted a replica.
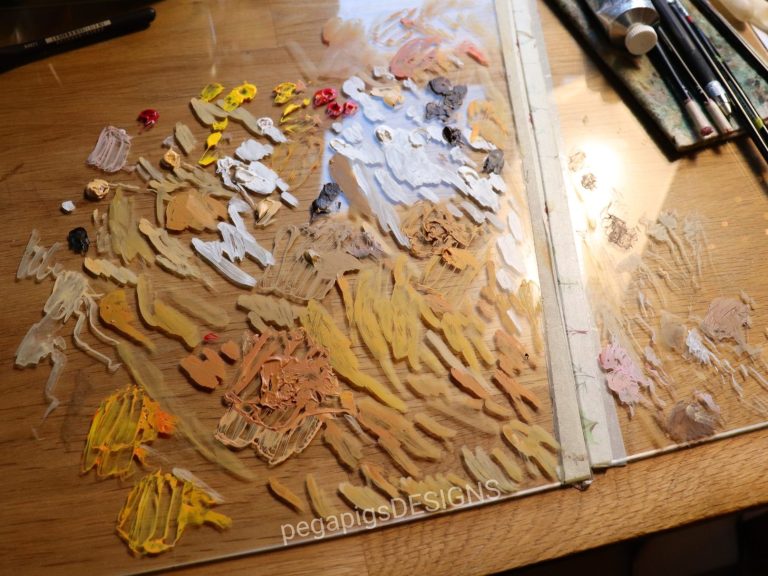
I use Winsor & Newton Professional acrylic paint and mix the colours on a glass surface.
When it has dried, I scrape it off with a blade.